



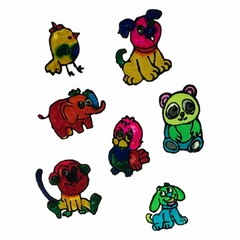
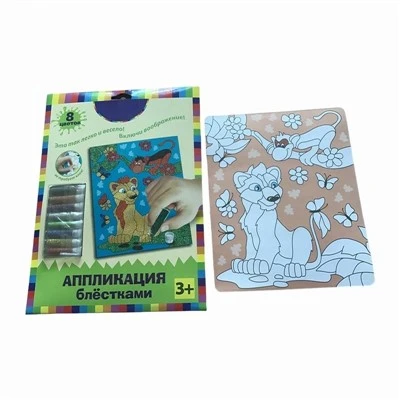
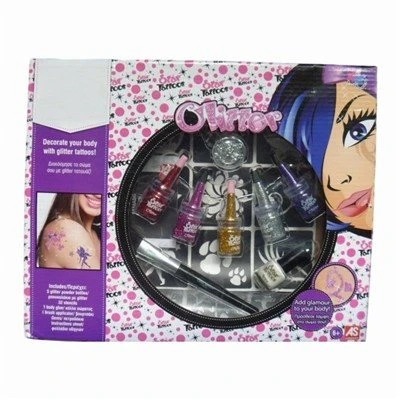
Hey there, craft enthusiasts! As a supplier of 3D Glitter Glue, I've been getting a lot of questions lately about whether 3D glitter glue can be used for making embroidery. Well, you've come to the right place because I'm here to spill the beans and give you the lowdown on this sparkly topic.
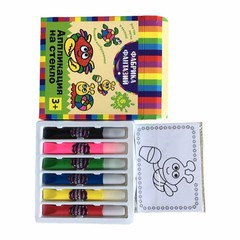
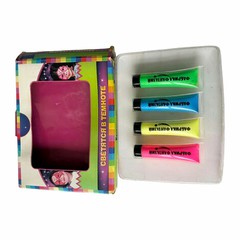
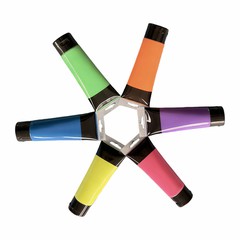
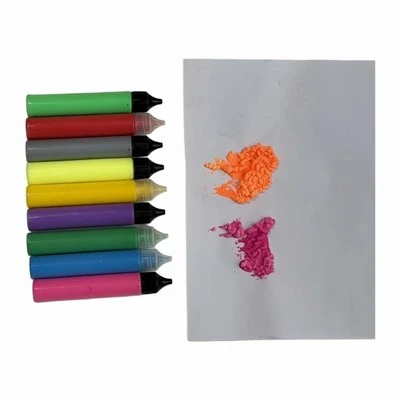
First off, let's talk about what 3D glitter glue is. It's a super fun and versatile crafting material that adds a pop of color and sparkle to just about anything. You can find it in a wide range of colors, from bright neons to soft pastels, and it comes with all sorts of glitter sizes and shapes. Whether you're into making greeting cards, decorating scrapbooks, or adding some bling to your clothing, 3D glitter glue is your go-to. You can check out our amazing selection of 3D Glitter Glue on our website.
Now, let's get to the big question: Can 3D glitter glue be used for making embroidery? The short answer is yes! But there are a few things you need to keep in mind.
The Basics of Using 3D Glitter Glue for Embroidery
When it comes to using 3D glitter glue for embroidery, the process is a bit different from traditional embroidery with thread. Instead of stitching, you'll be using the glue to create your designs. This can be a great option for those who want to add some sparkle to their embroidery projects without the hassle of threading a needle.
One of the first things you'll need to do is choose the right fabric. You want a fabric that's sturdy enough to hold the glue but also porous enough to allow it to dry properly. Cotton, linen, and canvas are all great choices. Avoid using fabrics that are too smooth or slippery, as the glue may not adhere well.
Next, you'll need to plan your design. You can either draw your design directly on the fabric with a pencil or use a stencil. Once you have your design in place, it's time to start applying the 3D glitter glue.
Applying the Glue
Applying 3D glitter glue is pretty straightforward. Just squeeze the glue out of the tube and follow your design. You can use a thin tip for more detailed work or a wider tip for larger areas. Make sure to apply the glue evenly and avoid getting any on the surrounding fabric.
One thing to keep in mind is that 3D glitter glue takes a while to dry. Depending on the thickness of the glue and the humidity in the air, it can take anywhere from a few hours to a full day to dry completely. So, be patient and give it plenty of time to set.
Benefits of Using 3D Glitter Glue for Embroidery
There are several benefits to using 3D glitter glue for embroidery. For one, it's a lot easier and faster than traditional embroidery. You don't have to worry about threading a needle or dealing with knots, and you can create your designs in a fraction of the time.
Another benefit is the added sparkle and dimension. 3D glitter glue adds a whole new level of bling to your embroidery projects, making them stand out from the crowd. Whether you're making a simple monogram or a complex floral design, the glitter will give your work a professional and eye-catching look.
Tips and Tricks
Here are a few tips and tricks to help you get the most out of using 3D glitter glue for embroidery:
- Use a stencil: If you're not confident in your drawing skills, using a stencil can be a great way to create precise and detailed designs. You can find stencils at your local craft store or online.
- Layer the glue: For a more dimensional look, you can layer the glue. Apply a thin layer of glue first and let it dry, then apply another layer on top. This will give your design a more textured and 3D effect.
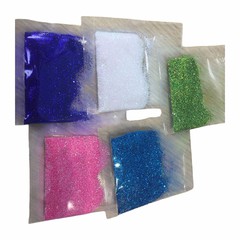
- Add additional glitter: If you want even more sparkle, you can sprinkle some Holographic Fine Glitter on top of the wet glue. This will add an extra pop of color and shine to your embroidery.
- Seal the glue: Once the glue is dry, you can seal it with a clear acrylic spray. This will help protect the glitter and keep it from falling off.
Potential Challenges
While using 3D glitter glue for embroidery can be a lot of fun, there are a few potential challenges you may encounter. One of the biggest challenges is getting the glue to dry evenly. If the glue dries too quickly, it may crack or peel. To avoid this, make sure to apply the glue in a thin layer and give it plenty of time to dry.
Another challenge is the mess. 3D glitter glue can be a bit messy to work with, especially if you're not careful. Make sure to work on a protected surface and wear gloves to avoid getting the glue on your hands.
Other Uses for 3D Glitter Glue
In addition to embroidery, 3D glitter glue can be used for a variety of other crafting projects. Here are a few ideas:
- Decorate shoes: Add some sparkle to your plain sneakers or sandals by applying 3D glitter glue to the laces or straps.
- Make jewelry: Create your own unique jewelry pieces by using 3D glitter glue to decorate beads or pendants.
- Design home decor: Add some bling to your home decor by using 3D glitter glue to decorate picture frames, vases, or candles.
As you can see, 3D glitter glue is a super versatile and fun crafting material that can be used for a wide range of projects. Whether you're a seasoned crafter or just starting out, I highly recommend giving it a try.


If you're interested in purchasing 3D glitter glue or any of our other crafting products, feel free to check out our website. We offer a wide selection of Glitter Glue Colle Paillettes in various colors and sizes. And if you have any questions or need help with your crafting projects, don't hesitate to reach out. We're here to help you unleash your creativity and make your projects shine!
So, what are you waiting for? Grab some 3D glitter glue and start creating!
References:
- Crafting magazines and websites
- Personal experience as a 3D Glitter Glue supplier