









Hey there, fellow art enthusiasts! I'm stoked to share some tips on creating a marble effect with Good Quality Acrylic Paint. As a supplier of top - notch acrylic paint, I've seen firsthand how amazing the marble effect can look when done right.
Why Choose Acrylic Paint for Marble Effect?
First off, let's talk about why acrylic paint is the bomb for creating a marble effect. Acrylic paint dries super fast, which means you can layer colors and create those cool, swirly patterns without having to wait ages between coats. It's also water - based, so cleanup is a breeze. You just need a bit of soap and water, and you're good to go.
Another great thing about acrylic paint is its versatility. You can use it on a variety of surfaces, like canvas, wood, and even glass. Whether you're making a piece of wall art or a custom - painted vase, acrylic paint has got you covered.
Materials You'll Need
Before we dive into the process, let's gather the materials. You'll need:
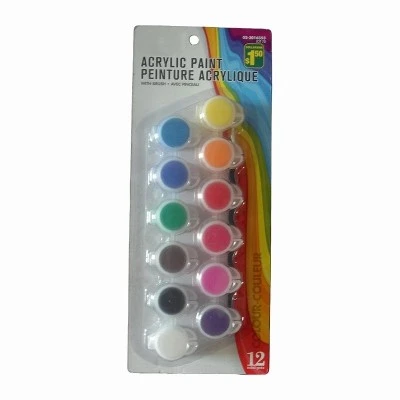
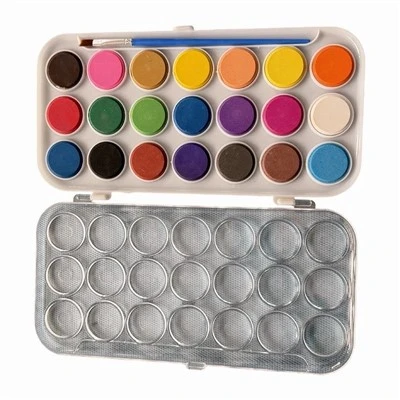
- Good Quality Acrylic Paint in different colors. I recommend choosing colors that complement each other, like blues and greens or purples and pinks.
- A palette or a disposable plate for mixing the paint.
- A few paintbrushes in different sizes. You'll need a small brush for detailed work and a larger one for covering bigger areas.
- A container of water for cleaning your brushes.
- A surface to paint on. This could be a canvas, a wooden board, or any other surface you like.
The Step - by - Step Process
- Prepare Your Surface
Start by cleaning your surface thoroughly. If it's a canvas, make sure it's stretched and primed. If it's a wooden board, sand it lightly to create a smooth surface. This will help the paint adhere better. - Mix Your Colors
Squeeze a small amount of each color of acrylic paint onto your palette. You can start with two or three colors, and then add more as you get more comfortable. Use your brush to mix the colors slightly, but don't over - mix. You want to keep some of the individual colors separate to create that marbled look. - Create the Base Layer
Use a large brush to apply a thin layer of one of your colors to the surface. This will be the base color for your marble effect. Let it dry completely. This usually takes about 15 - 30 minutes, depending on the thickness of the paint and the humidity in the air. - Add the Swirls
Once the base layer is dry, it's time to add the swirls. Dip your small brush into one of the other colors and make small dots or lines on the base layer. Then, use a toothpick or a skewer to gently swirl the colors together. You can create different patterns by varying the direction and speed of your swirling. - Build Up the Layers
Repeat the process of adding dots and swirling the colors to build up the marble effect. You can add more colors as you go, but be careful not to overdo it. You want the colors to blend together in a natural - looking way. - Let It Dry
After you're happy with your marble effect, let the paint dry completely. This may take a few hours or even overnight, depending on the thickness of the paint.
Tips for a Better Marble Effect
- Use Different Consistencies: You can create more interesting effects by using different consistencies of paint. For example, you can add a little water to some of the paint to make it thinner and more fluid. This will create a more flowing, organic look.
- Experiment with Tools: Don't be afraid to use different tools to create the swirls. You can use a fork, a comb, or even your fingers. Each tool will create a different pattern, so have fun and see what works best for you.
- Work in Small Areas: If you're working on a large surface, it's a good idea to work in small areas at a time. This will make it easier to control the paint and create a more consistent marble effect.
Using Thermochromic Paint Pigment
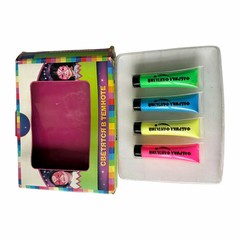
If you want to take your marble effect to the next level, you can try using Thermochromic Paint Pigment. This pigment changes color depending on the temperature, which can create some really cool and unique effects.
To use thermochromic paint pigment, simply mix it with your acrylic paint according to the manufacturer's instructions. Then, follow the same steps as above to create your marble effect. You'll be amazed at how the colors change as the temperature changes.
Acrylic Paint for Outdoor Use
If you're planning to display your marble - painted piece outdoors, you'll need to use Acrylic Paint for Outdoor Use. This type of paint is designed to withstand the elements, like sunlight, rain, and wind.
Before applying the paint, make sure your surface is clean and dry. You may also want to apply a primer to help the paint adhere better. Once you've created your marble effect, let the paint dry completely and then apply a clear protective coat to help protect it from the elements.


Conclusion
Creating a marble effect with good quality acrylic paint is a fun and rewarding process. With a little practice and some creativity, you can create some really amazing pieces of art. Whether you're a beginner or an experienced artist, I hope these tips have inspired you to give it a try.
If you're interested in purchasing our Good Quality Acrylic Paint, Thermochromic Paint Pigment, or Acrylic Paint for Outdoor Use, feel free to reach out to us for more information and to start a procurement discussion. We're here to help you bring your artistic visions to life!
References
- "Acrylic Painting Techniques" by Smith, John. Published by Artistic Press.
- "The Art of Marble Effects" by Johnson, Sarah. Available in local art libraries.